Skip to content

What your autopilot can do for you.


Understanding the basics and the importance of calibration


Press the button and head for home.
For many of us, the fundamental purpose of an autopilot is to make life easier once we’ve had our fun. Yet, modern pilots are capable of a great deal more, especially when the going gets tough.

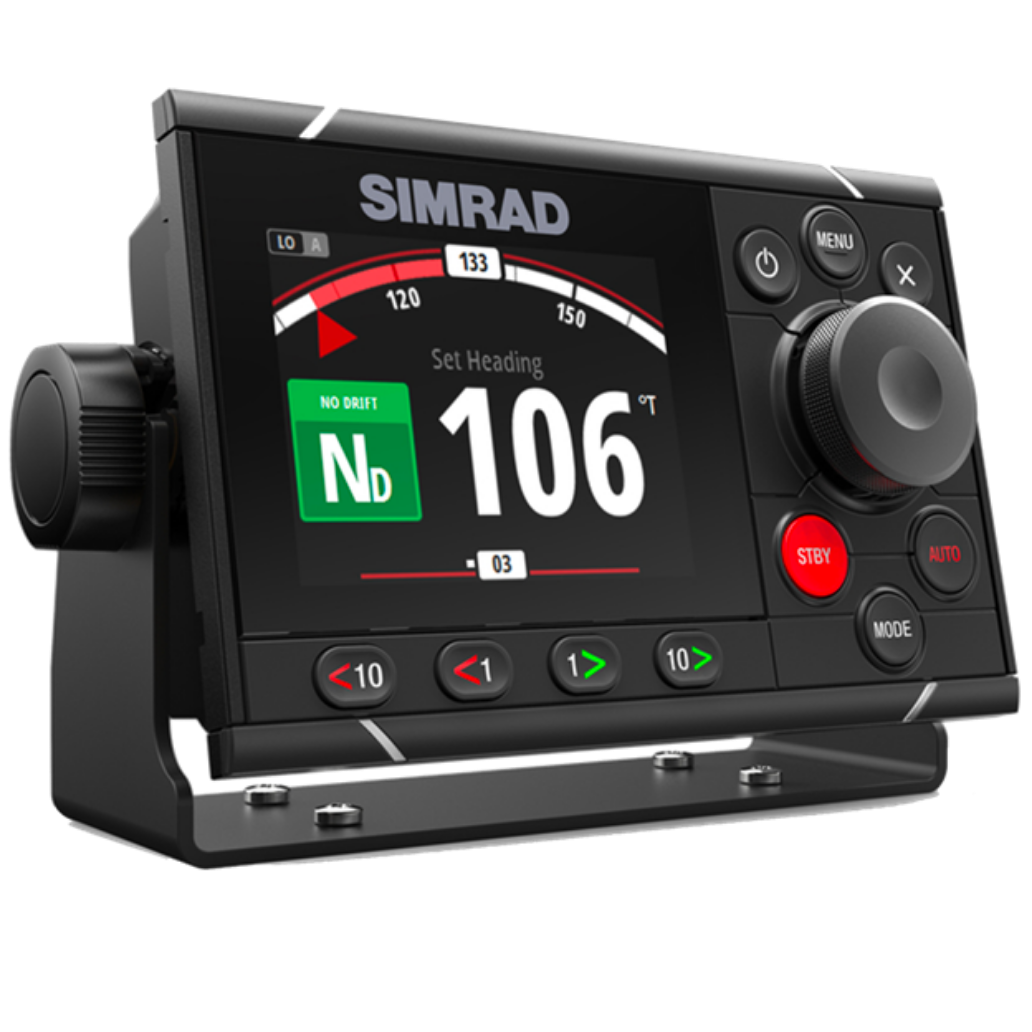
With a simple multifunction display and a handful of buttons forming the user interface, on the face of it, today’s autopilots don’t appear to have changed that much over the years. Yet under the skin, they are far more advanced and capable of much more than merely steering a straight course in flat water.


Communication systems have seen significant advances with more advanced ways of distributing signals between sensors and processors which has helped to improve performance.

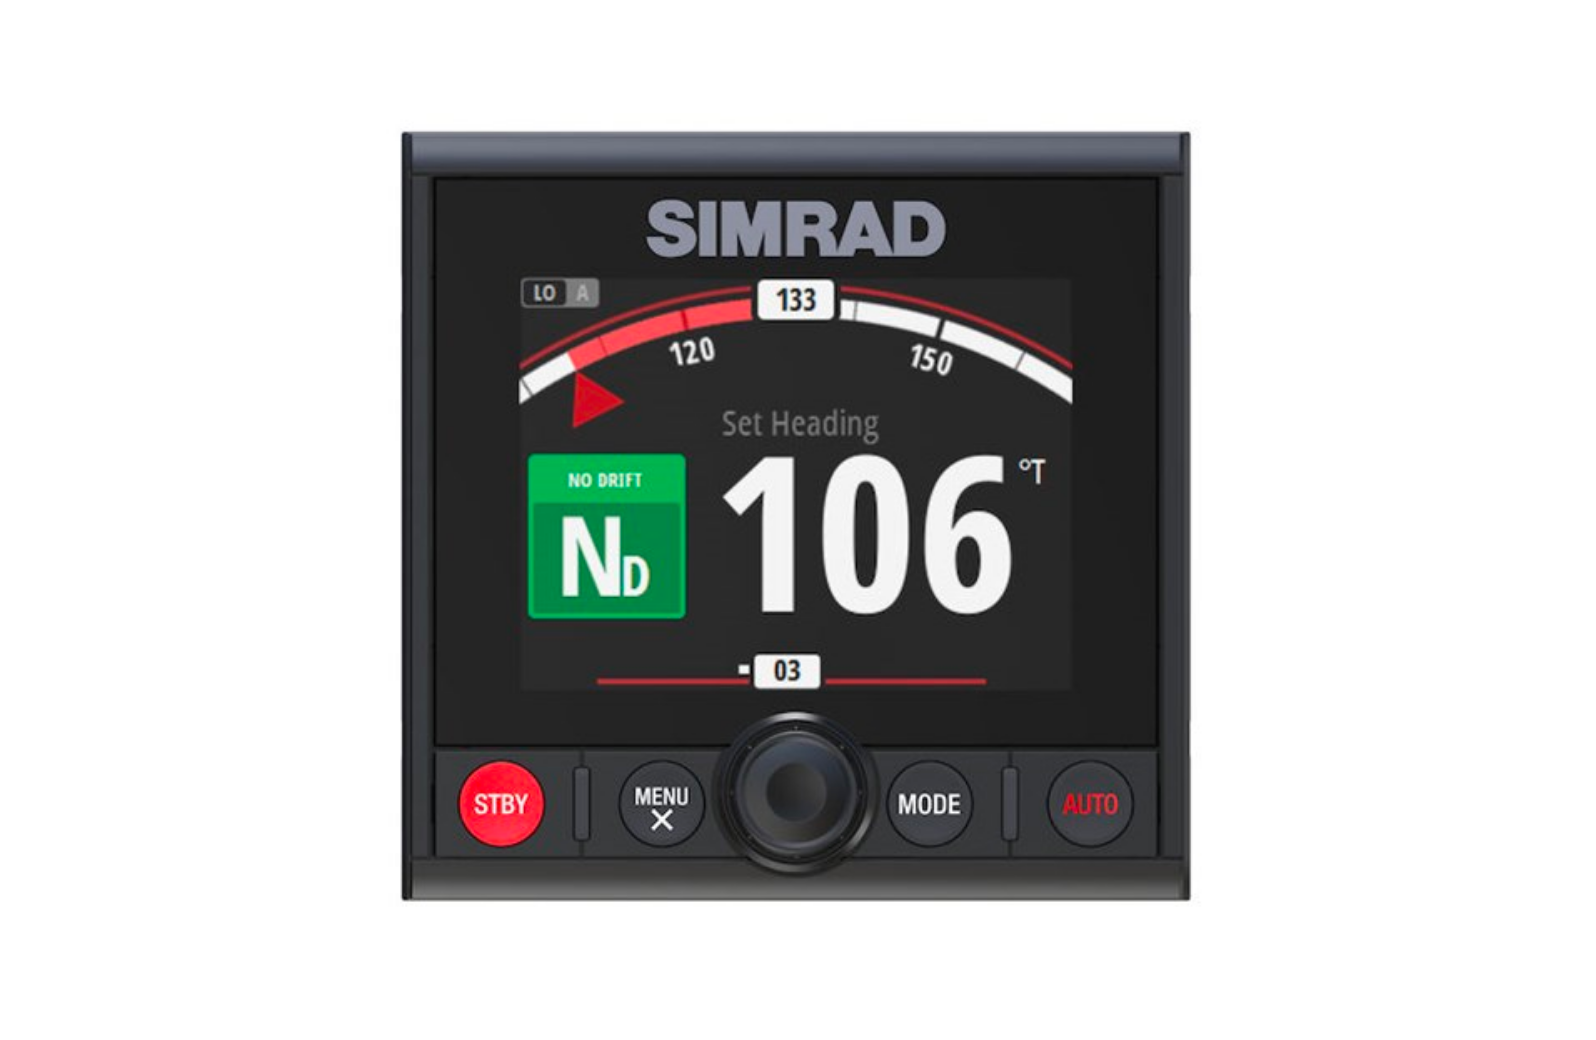
“For many people, an autopilot is for doing the boring bit - steering straight - which is, of course, a big benefit. But one of the most useful functions is the ability to correct the heading so that the boat doesn’t drift off course,” explains Simrad® product expert Tonnes Haavarsen.


“In other words, imagine motoring across a wide river where the water is flowing across your path. The no-drift function allows you to get to the point where you want to arrive on the other side of the river without being swept off track. Here, the pilot would steer a straight line over the ground, compensating for any flow across your track. This is particularly important if you need to avoid being swept into shallow areas or towards rocks or moorings.”

From holding an accurate heading in awkward sea states, to no-drift functions, along with automated steering patterns that will perform a series of precise manoeuvres, today’s autopilots can provide the electronic equivalent of an extra pair of hands.


But to get the best out of these functions means making sure the basics are in place and understanding a few of the key aspects as to how autopilots work.

“From a user’s point of view, the most obvious changes are that displays have got smaller and the screens are now colour,” explains Product Manager Eirik Hovland. “Interestingly, the commonly used algorithms were developed quite a while ago and have stood the test of time in some harsh conditions. But it is the compass and sensor side that has changed the most. For example, whereas in the past we would have used a magnetic compass, now we use solid state sensors and in some cases a GPS compass.

“With better displays and more integration, it is easier to visualise your situation and your surroundings which allows you to make better use of some of the autopilot functions,” says Eirik. “Behind the scenes, there have been improvements in pumps and power consumption as well. It’s similar to what has been going on in our cars. We see little of what happens under the bonnet, and the fundamental process of driving remains the same, but there are clear advances in the way that they handle and perform.

“However, in a car, all the instruments are connected, calibrated and ready to go. Apart from syncing your phone, you wouldn’t expect to have to set anything up. In a boat it’s different.


“While many builders are very good at making sure that systems are calibrated and configured correctly, it’s not a given for an owner that this will be the case. Calibrating the core instruments is an essential starting point on any boat, big or small, sail or power.”


The bottom line is clear, modern electronics can offer significant benefits, but the advantages are difficult to make use of if the pilot and compass are not set up correctly from the start. So, getting the best out of your autopilot begins with understanding a little more about how the system works, what it requires from you and most importantly, how to set it up correctly.

Calibration is the key


“Poor or non-existent calibration is a common problem,” says Eirik. “We see a lot of autopilots that are badly tuned, but we also come across a wide range of expectations on the part of the owners. Some are happy if the pilot is steering the boat roughly to where they want to go, while others want the accuracy of plus or minus half a degree.”


Understandably, the specific level of accuracy that is required will vary depending on what you are using their pilots for, but whichever end of the scale you’re on, the principle comes down to the same thing. Calibrating the compass is the essential starting point, whatever level of accuracy you are after.

Calibrating the compass


“It’s important to make sure that the compass isn’t near a large metallic object such as the engine plus, it is better is the compass is mounted close to the centre of the boat,” says Eirik. “Make sure there are no metal objects near the compass itself. We’ve flown engineers a long way to sort out a problem, only to discover a toolbox next to the compass!”


Compass calibration is straightforward nowadays. The manual will explain how to set up the auto calibration mode, but essentially the process merely involves turning the boat through a couple of circles at a constant rate. This will cancel out any magnetic field anomalies.

Does your autopilot need adjusting beyond calibration?


First, find out whether the pilot steers straight. You need to know this over a range of speeds, especially for planing boats that may change their characteristics with speed.


“If the boat has trouble keeping a constant heading check your steering system,” says Tonnes. “No amount of calibration adjustments will correct play in the steering system. For hydraulic systems, make sure that there are no air bubbles in the system. If it’s mechanical, ensure that there is no slack in the system.”


“It is essential to check the rudder feedback system too. Make sure there is no slack or play in this either, as this will affect the information relayed back to the autopilot.

“It is also worth noting how the feedback system has been mounted. Ideally, it should be at right angles to the rudder arm as this will give the best chance of linear feedback. In other words, each degree of rudder arm movement is measured as a degree on the feedback unit. That said that, if it is not fitted at right angles, the pilot will still be able to compensate and calibrate the feedback signals and match them to what the rudder arm is doing. Mounting it at right angles reduces the potential for errors or confusion.”


“Once the compass is calibrated, you can then calibrate the rudder sensor and then calibrating the autopilot parameters to take account of the hull dynamics’” says Eirik. “While these are the finer points of calibration that have in the past required a bit of experience to do accurately, fortunately with modern instruments there is an auto-calibration function for achieving this which makes the process far easier.”

eirik.png

Eirik Hovland

Product Manager

Based in Egersund, Norway he is an experienced sailor and motor boater with expertise in both recreational and commercial autopilots. His work with autopilots began as a software developer before moving on to become a system engineer where a large part of his work involved the validation of autopilot systems.

tonnes.png

Tonnes Haavarsen

Product Expert

Having started in the business back in 1978 he has extensive knowledge of autopilot systems and has seen considerable development in this field. Also based in Norway, his work focusses mainly on the technical side for a wide range of recreational and commercial autopilots.