
Traditional Sonar: How to Read It Like a Pro
Understanding arches, bait balls, and what your display is really telling you
Turn Your Sonar Into a Fishing Advantage
Sonar is one of the most powerful tools on your boat. When you know how to interpret what you’re seeing on your chartplotter / fish finder, your display becomes more than just data. It becomes a real-time view of fish behavior, structure, and opportunity below the surface.
Whether you’re looking to refine your skills or simply get more out of your system, learning how to read sonar more effectively helps you make better decisions, stay on fish longer, and fish with more confidence.
What Your Sonar Screen Is Really Showing You
Your sonar display is constantly scrolling, showing a history of what your transducer has passed over.
The image scrolls right to left, displaying the latest returns on the right side of the screen and progressively older data toward the left.
As your transducer is actively pinging, the image moves from right to left, giving you a timeline of activity below your boat. This is key. You are not just looking at what is happening now, you are interpreting what just happened as well.
On Simrad® chartplotters / fish finders, you can scroll back through sonar history to review structure or fish you’ve already passed. You can also drop a waypoint directly on a point of interest within that history, helping you decide when to reposition or make another pass.
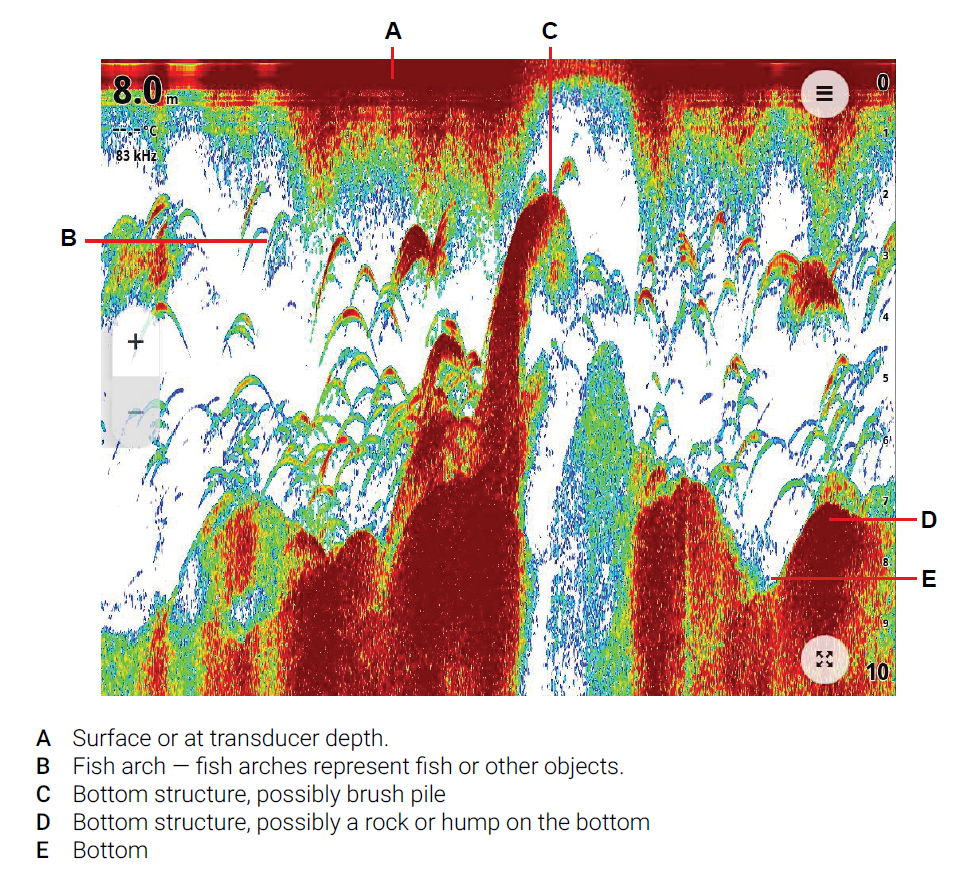
How to Read Fish Arches
Fish arches are one of the most recognizable and valuable sonar returns.
They are created as a fish moves through your sonar beam. The most common method occurs when the boat passes over a fish, though a fish arch can also form when the boat is stationary and the fish swims through the sonar beam. As it enters, passes through, and exits the cone, the return signal forms that classic arch shape. A fish arch forms because the distance from the transducer to the fish is greatest at the edges of the sonar cone and shortest when the fish passes through the center of the cone.
What to look for:
• Full arches indicate a fish moving cleanly through the beam
• Partial arches or lines suggest the fish only passed through part of the cone
• Thicker arches typically represent larger or denser fish
• Thin arches often indicate smaller fish
Boat speed plays a major role in how arches appear. Very slow speeds can stretch returns into long lines, while faster speeds can shorten them, making arches less defined. For the most accurate and recognizable fish arches, aim to maintain a steady speed around 1–3 mph.
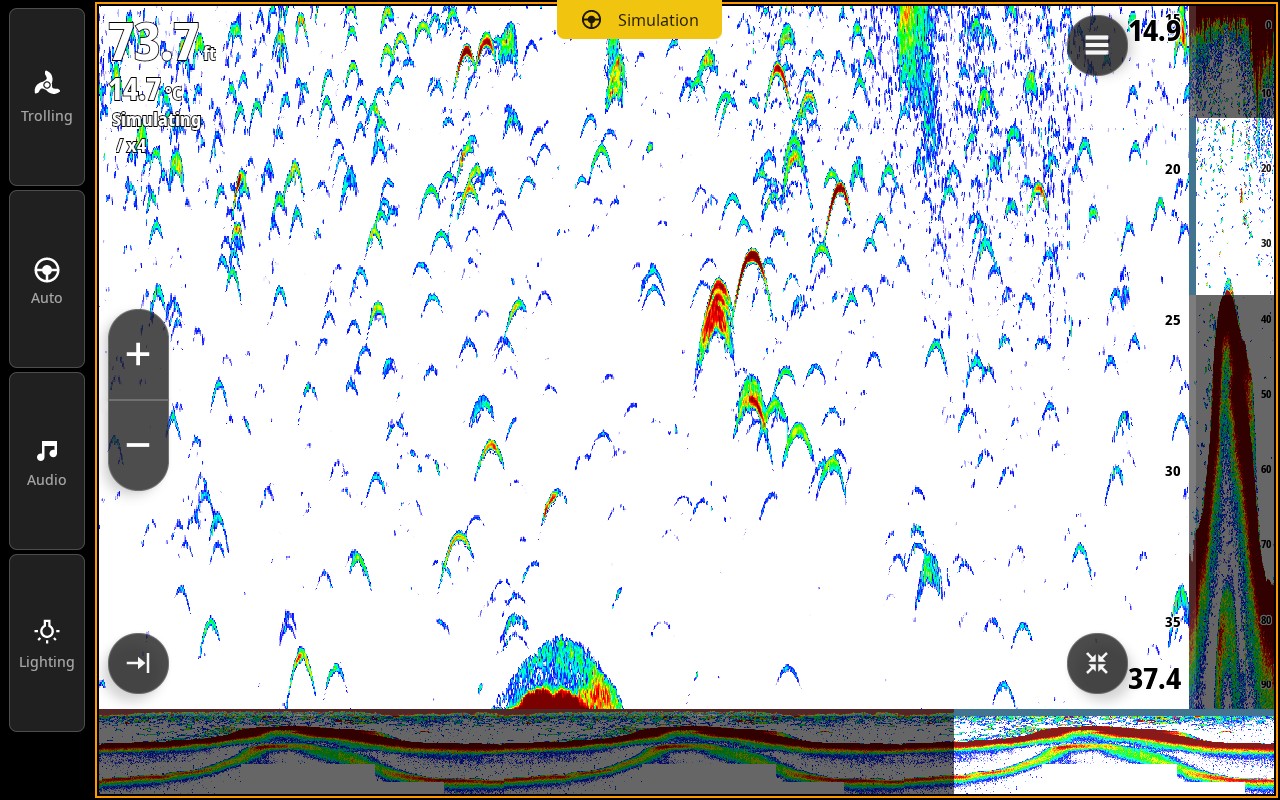
Spotting Bait Balls and Predator Activity
Bait fish may appear very differently than individual fish depending on the size of the bait and how tightly organized they are.
Instead of arches, bait balls show up as dense clouds or clusters on your display.
How to interpret them:
• Tight clusters indicate concentrated bait
• Looser clouds suggest bait is spreading out
• Predator fish often appear as arches below or around the bait
If you find bait, you are already in a high-probability area. The next step is understanding how larger fish are interacting with it.
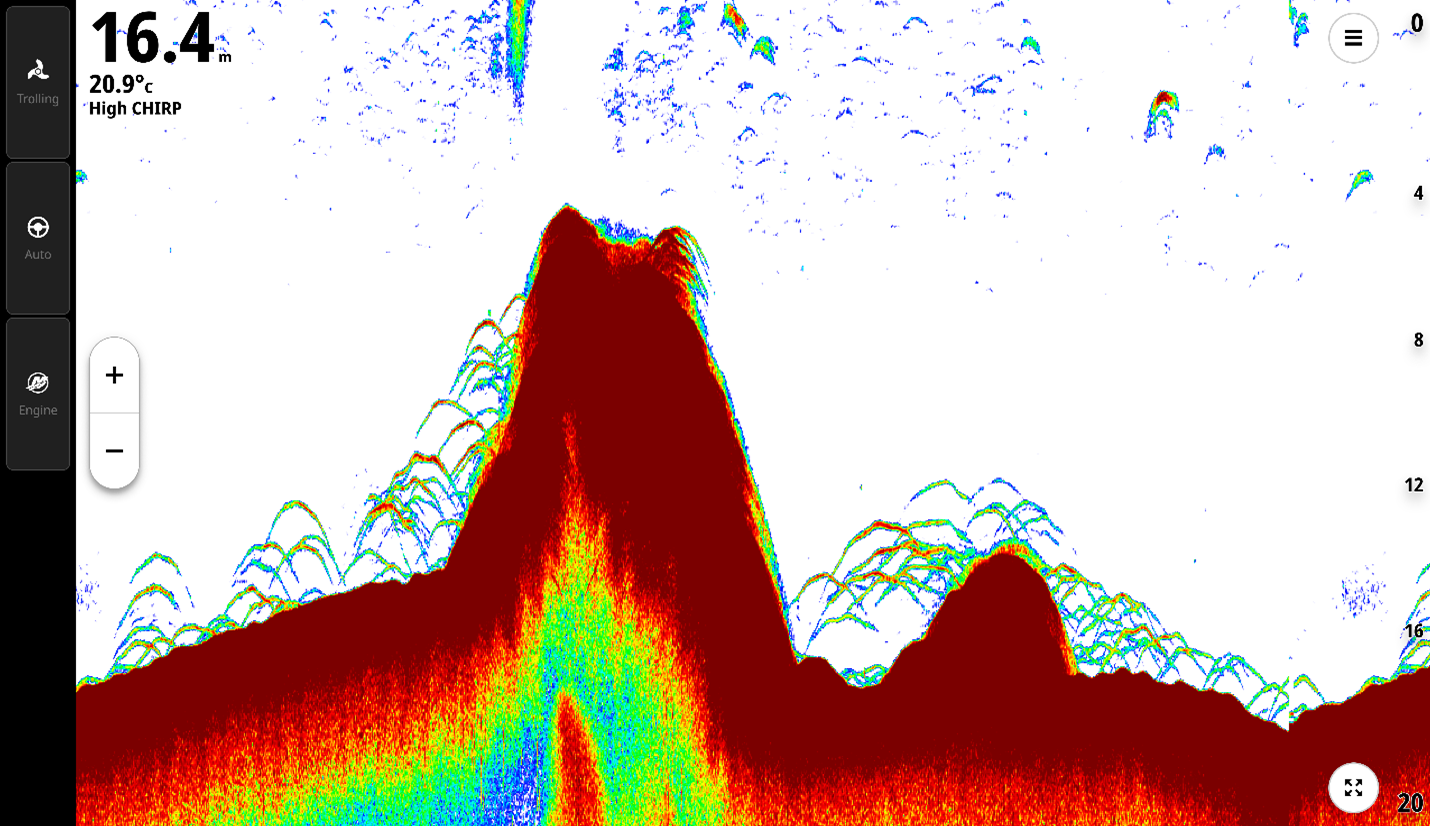
Reading Bottom and Structure
Your sonar provides critical insight into what is happening on the bottom. You can identify bottom composition by interpreting the strength and characteristics of the sonar return.
• Hard bottom like rock or reef appears as a thicker, brighter return
• Soft bottom like mud or sand shows as a thinner, less defined line
Structure such as ledges, wrecks, or humps will break up that bottom line. These irregularities often hold fish and are key areas to focus on.
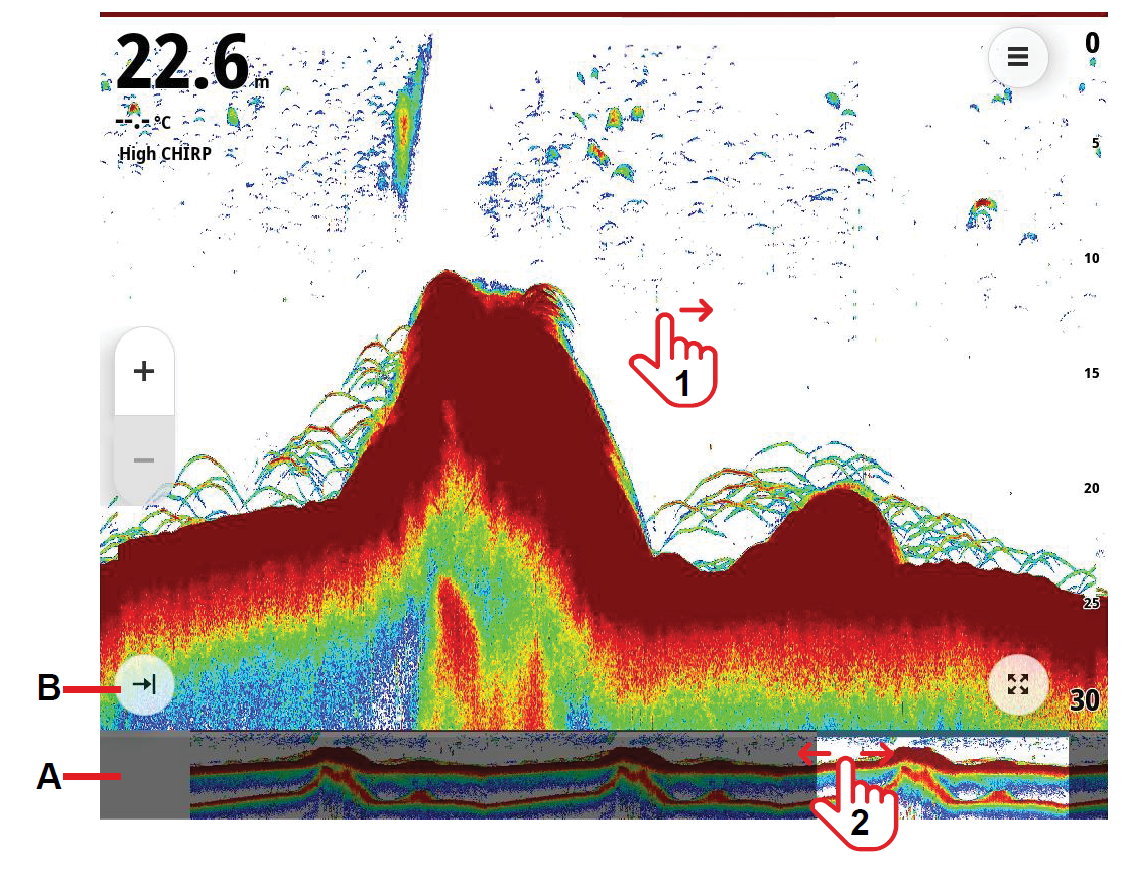
Using Zoom to Your Advantage
Fish holding tight to the bottom can be difficult to distinguish from structure.
This is where zoom becomes a powerful tool.
• Zoom allows you to focus on a specific depth range for more detail
• Bottom lock keeps your view centered on the bottom, helping separate fish from structure
When zoom is active, you can adjust your view to isolate specific zones, making it easier to identify fish that might otherwise blend into the bottom.
Choosing the Right Frequency for the Job
Your sonar frequency has a direct impact on what you see on the screen.
• High frequency (High CHIRP) provides greater detail and better target separation, but with less depth range and coverage
• Medium frequency (Medium CHIRP) offers a balance of depth performance, coverage, and detail for general use
• Low frequency (Low CHIRP) delivers better depth performance and wider coverage, but with less detail and target separation
As a general rule, lower frequencies use a wider beam angle, allowing you to search a larger area. Higher frequencies use a narrower beam, giving you a more detailed view of fish and structure with less coverage.
CHIRP sonar enhances this further by sweeping across a range of frequencies, helping deliver clearer separation between fish, structure, and bottom.

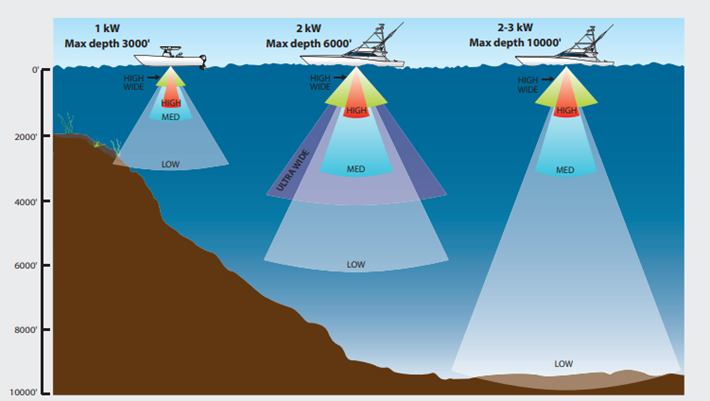
General Frequency Guidelines
While settings can vary based on conditions and transducer setup, these are good starting points:
High frequency (e.g. 200 kHz / high CHIRP)
• Best for shallower water, typically under 100 ft
• Ideal for lakes, inshore, and nearshore fishing where detail and target separation are key
Low frequency (e.g. 50 kHz / low CHIRP)
• Better suited for deeper water beyond 100 ft
• Wider coverage helps locate fish offshore and in deeper environments
Using the right frequency for your environment helps you balance coverage and detail, making it easier to locate and identify fish effectively.
Dialing in Gain
Gain controls how much detail your sonar displays.
• Too much gain creates a cluttered screen
• Too little gain can hide fish entirely
A good rule of thumb is to increase gain until you begin to see a small amount of background noise, then reduce it slightly. This allows subtle targets to be detected while keeping the display uncluttered.
Different conditions may require different gain settings. Adjusting based on water clarity, depth, and conditions is key to getting the best results.

Using Color Erase to Highlight Fish
Color erase helps reduce specific colors on your sonar display, allowing stronger returns like fish to stand out more clearly.
• Helps remove unwanted clutter or weaker signals
• Makes larger or denser fish easier to identify
• Useful when trying to separate fish from bait or background noise
Adjusting color erase can make a noticeable difference in how clearly targets appear, especially in busy or noisy conditions.
Auto vs Manual Range
Range determines how much of the water column is visible on your screen.
• Auto mode scans from surface to bottom automatically
• Manual mode lets you focus on a specific depth range
Manual range is especially useful when targeting fish holding at a consistent depth or when trying to identify changes in bottom composition.
Tech That Give You an Edge
Modern sonar systems go beyond simply displaying information.
For example, with Simrad® NSS® 4, you can:
• Take advantage of dual channel CHIRP sonar to run two frequency ranges simultaneously, giving you the ability to view both wide-area coverage and high-detail returns at the same time
• Drop a waypoint directly from your sonar screen to mark fish or structure
• Measure distance between targets to better understand spacing and
• Use the cursor to view exact depth and temperature at any point
• Record sonar logs to review and learn from your time on the water
These tools turn sonar into a system you can actively use to make smarter decisions and refine your approach.

Pro Tips to Read Sonar Better
• Watch how the screen changes over time, not just individual marks
• Slow down when you mark fish or structure for clearer returns
• Adjust your settings based on conditions, do not rely only on auto
• Use zoom to isolate the strike zone when needed
• Look for patterns, not just single targets
Common Sonar Mistakes (and How to Fix Them)
Mistaking noise for fish
Not every mark is a fish. Debris, thermoclines, and interference can all create returns.
Fix: Look for consistent shapes and patterns, not random signals.
Ignoring boat speed
Speed directly impacts how sonar returns appear.
Fix: Slow down when marking fish to get more defined readings.
Not understanding screen history
Your sonar is a timeline, not just a live view.
Fix: Use both past and present data to guide your decisions.
Running default settings only
Auto settings are a starting point, not a final solution.
Fix: Adjust gain, range, and frequency based on conditions.
Not using zoom
Fish near the bottom can easily blend into structure.
Fix: Use zoom to clearly separate fish from the seabed.
Using the wrong frequency or transducer setup
Not all setups are suited for every depth or fishing style.
Fix: Match your frequency and transducer to your environment and target species.
Start Seeing the Full Picture
Reading sonar like a pro is not about spotting a single fish. It is about understanding how everything connects.
When you can read fish, bait, and structure together, you start to see the full picture below your boat, helping you stay on fish, make better decisions, and get more out of every trip on the water.
NOTE: All screenshots featured in this article are taken from Simrad® NEON™ OS-enabled chartplotters/fish finders.


